Let the kids sew something cool / Jetzt sind die Kinder dran: Cooles Selbstgenähtes

l_monster

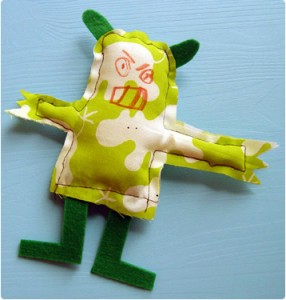
Today my 5 years old son wanted to sew his own monster – and he had so much fun doing it: You really should try that with your child too (and I think even 4 years old kids are able to do it).

My son started with a sketch of his monster. You can just use this sketch a the pattern for the monster or scan it and enlarge the sketch to get a pattern in a good size.

Then you cut out the pattern, pin it on the fabric, cut out the fabric, pin together the front and back fabric and sew it together in a very easy way and fill it with doll wadding before you close the last seam. For the ears and the legs we used thick felt. And finally my son drew the face with a fabric marker.

It’s really easy, the kid’s have a lot of fun – and I just love the result!

Btw.: The sewing machine is originally from the 70s – my own first sewing machine :-)

Heute wollte mein 5 Jahre alter Sohn mal selber was nähen – ein Monster sollte es natürlich werden. Und tatsächlich hat es ihm und uns allen großen Spaß gemacht. Probiert es mal aus, es lohnt sich (und ich denke dass sogar 4-Jährige es schon können).

Mein Sohn zeichnete eine Skizze des Monsters, das er nähen wollte. Die Zeichnung kann man einfach Ausschneiden und sie als Schnitt für das Monster verwenden – oder sie einscannen und am Computer so weit vergrößern, bis sie eine gute Größe für ein Stofftierchen abgibt. Das ausgeschnittene Monster dann auf den Stoff aufstecken und den Stoff nach Vorlage ausschneiden, aufeinander stecken und das Monster ganz einfach zusammennähen und es mit etwas Puppenwatte füllen, bevor man die letzte Naht schließt. Für die Ohren und die Beine benutzten wir dicken Filz (ich benutze immer efco-Filz, viele fragten mich nach dem letzten Tutorial danach).
Und schließlich malte mein Sohn dem Monster das gesicht mit einem Textil-Stift.

Es ist wirklich sehr simpel, die Kinder haben jede Menge Spaß daran und ich finde das Ergebnis großartig!

Die Nähmaschine ist übrigens original aus den 70ern – nämlich meine allererste Nähmaschine :-)

(hier gibt es übrigens eine tolle Kinder-Nähmaschine)

l_monster02

Tutorial: How to sew a RevoluzZzionary Monster / Wie man ein revoluzZzionäres Monster näht

I got such an amazing positive feedback from many, many people concerning my monsters that I decided to give all my blog readers a little gift: A tutorial to make your own RevoluzZzionary Monster. It’s a simple one and even if you are a beginner you should be able to do it.

ninni

If you have any questions while you are making the monster – just contact me. And you can make the monster with a very simple sewing machine – you only need a simple stitch and a zigzag stitch.

And the cute little monster I made during this tutorial – its name is Ninni :-) – will be drawn by lot (my daughter and I like the RevoluzZza ribbon „lottery“ that much that we want to have another „RevoluzZza lottery“ :-)). Just leave a comment and on Friday my cute little daughter will draw by lot who will give the little beast a new home. Everybody can join – no matter where you live.

OK, let’s get started!

1. Download the pattern, print it and cut out the pattern. I chose to use different fabrics for the front and the back of the monster:

01

weiterlesen

How to…

Don’t miss this amazing list of tutorials!

Whenever you think:“I really would like to – but I don’t know how…“ – have a look at that list. (You’ll find a nice robot tutorial there too :-) ) Thank you, Lisa!

Work in Progress: Robot/Roboter

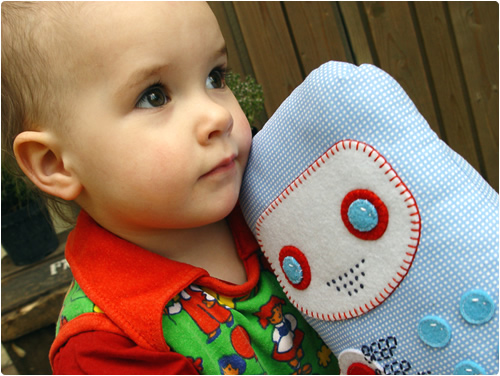
Sometimes it’s interesting to have a look behind the scenes. Today I show you what has to happen to get such a cute little robot friend:

Manchmal ist ein Blick hinter die Kulissen einfach nett. Drum zeige ich hier mal, was passieren musste, damit Lilith diesen süßen Roboter in ihren Armen halten konnte:

Robot

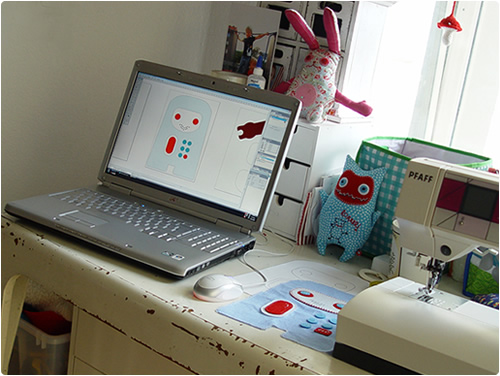
Everything starts with a sketch on my computer:

Bei mir beginnt immer alles mit einer Skizze am Computer:

work in progress 01

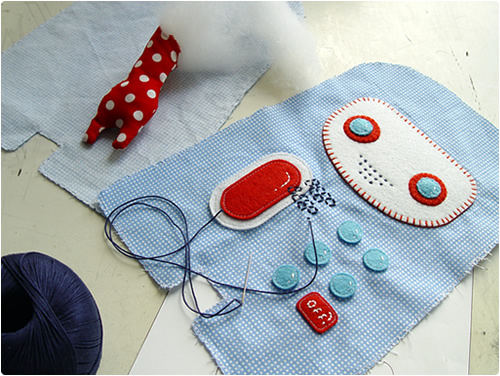
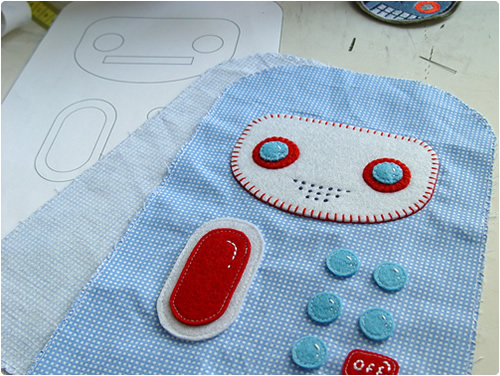
And then: Print the sketch, cut it out, pin it on the chosen fabric, cut the fabric, neat the edges, decorate it…

Dann wird die Skizze ausgedruckt, ausgeschnitten, auf den ausgewählten Stoff aufgesteckt, geschnitten, versäumt, ein bisschen dekoriert…

Work in progress 02

Do a little bit embroidery, sew the arms and fill them with doll wadding.

Noch ein bisschen Sticken, die Arme nähen und mit Puppenwatte füllen:

Work in progress 03

Sew the front and back together and don’t forget the arms. Fill the robot with wadding:

Vorder- und Rückseite zusammennähen, dabei die Arme nicht vergessen und den Roboter mit Watte füllen:

Work in progress 04

Sew it together with blind stitch – and that’s it. Not that difficult, right?

So, just give it a try, imagine something nice and sew the stuffed animal that you have always dreamed of :-)

— NOT FOR COMMERCIAL USE —

Zum Schluß wird die Puppe mit einem Blindstich per Hand geschlossen – und das war’s schon! Nicht so schwierig.

Also, versuch es selbst mal, denk Dir was Nettes aus und näh das Stofftier Deiner Träume :-)

— DIE ANLEITUNG IST NICHT FÜR DEN KOMMERZIELLEN GEBRAUCH ZUGELASSEN —

Let’s sew a tree

Usually I avoid to use IKEA fabrics, because you see them everywhere and therefore i find them pretty boring. OK, there are some really classy plaid IKEA fabrics which I don’t want to miss.

And there is one new fabric at IKEA that is very, very nice – a bit retro style. But the pattern is very big so it’s difficult to use it except for curtains or bed linen. Well, I really had to buy this fabric because I like it so much – but we don’t need new curtains or bed linen :-)

Some days ago I had an idea and here is the tutorial. It’s really simple and the result is very decorative.

Let’s start:

1. Drive to IKEA and buy a piece of the fabric FREDRIKA with the cute trees on it:

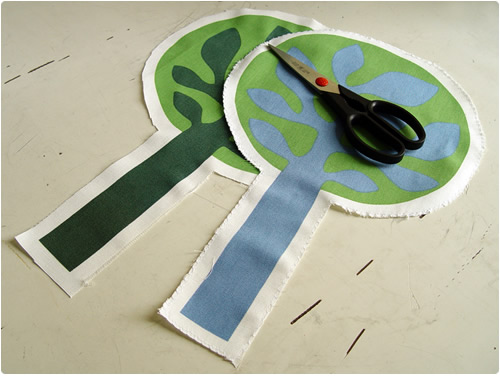
2. Cut them out and neat the edges:

Tree02

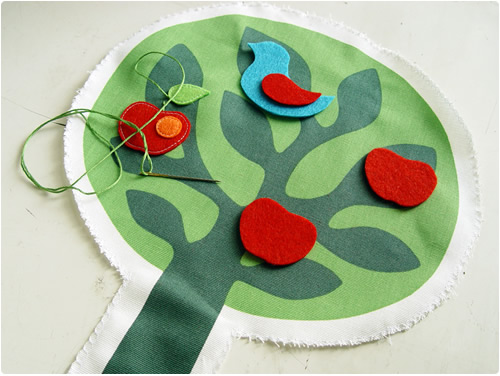
3. Decorate them – just as you like it. They look really nice even if you use them without extra decoration:

Tree03

4. Put the two halfs one on another – face to face – and sew them together. Of yourse you have to leave a little opening to fill the wadding inside the tree. Finally you close the tree by hand with the blind stitch:

Tree04

And – that’s it!

Trees

You can hang the tree into a window, use it as a decoration or even as a pillow.

If you sew your own IKEA fabric tree: Leave a link to your work! I’m very curious :-)

Create your own revoluzZzionary Easter Bunny

It’s rainy and bad weather here in germany – so we did some Easter handcrafts with the kids. If you wanna to – here is all you need.

That’s how it works:

easter_bunny1.gif

Just print this pdf:

easter_bunny_print.pdf

Or this gif:

print.gif

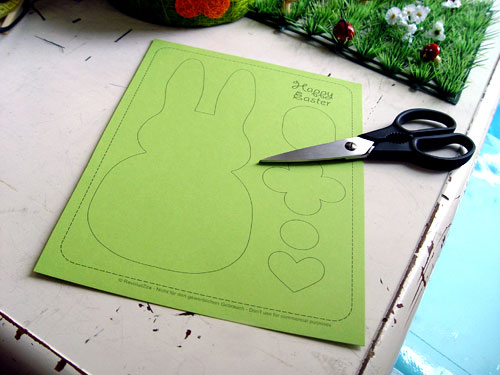
Cut it out:

osterhasen_basteln-002.jpg

And be creative… paint, sew… whatever you want :-)

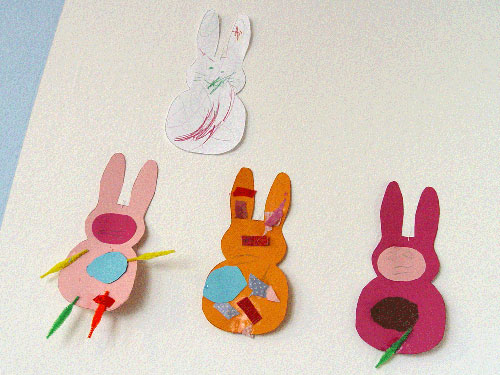
My kids did this:

osterhasen_basteln-01.jpg

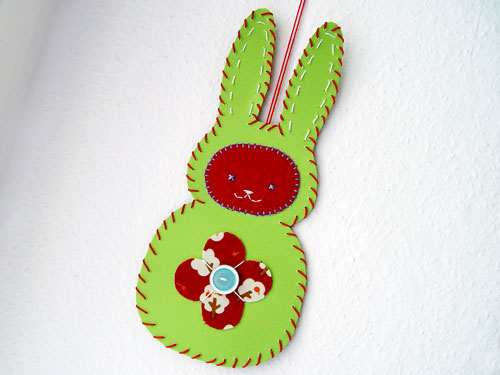
And I did that:

osterhasen_basteln-006.jpg

Have fun!